Computer Stuff
Mapping R Drive
-
https://portal.bidmc.org/-/media/Files/Intranets/Research/ARC/FileShareMapping.ashx
Gaining access to R drive: email the IT Service Desk (servicedesk@bilh.org) to request access to the R drive (cc the owner of the R drive)
Open a “File Explorer” window (usually looks like a little manila folder on Windows 10)
Click on “This PC” on navigation bar on left side of window
Click “Computer” tab at top of window
Click “Map Network Drive”
Set the drive as “R”
Enter the following as the folder:
\\resfile.bidmc.harvard.edu\research\Center for Sleep and Cognition
Click both “Reconnect at-sign-in” and “Connect using different credentials”
Enter in your BIDMC user credentials: BILH\username and your BIDMC password
On my computer at least you have to also click on “Remember my Credentials”
-
Gaining access to R drive: email the IT Service Desk (servicedesk@bilh.org) to request access to the R drive (cc the owner of the R drive)
How to Connect to Windows File Sharing (SMB) folders from Mac OS X machines:
You must manually connect to the Research or General file share from your Mac OS X based machines. Occasionally the physical location of your files will change as servers are replaced, upgraded or volume sizes changed to support data growth. Follow these steps to connect to Windows File Sharing (SMB) from Mac OS X 10.1 or later. SMB is the native sharing protocol for Microsoft Windows operating systems. To permanently connect to these drives and place drive icons on your desktop complete the following:
Click the Finder icon in the Dock,
Click the Go menu
Click on Connect to Server
Connecting to the Public File Shares: From the Connect to Server window, in the Server Address box enter the server name and share volume
Currently: smb://resfile.bidmc.harvard.edu/research/Center for Sleep and Cognition
Then click the Connect button. If you have not previously logged in you will seen a login prompt. Enter your ITS Username (e.g.: its\username) in the User name: box and your Outlook email password in the Password: text box. (if you wish to automatically reconnect in the future, click the store in keychain option).
After a short delay, you should see a Volume_Nme: globe icon on your desktop and in Finder.
If you have any questions or need assistance with this process please contact IS Support at 617-754-8080 or ISupport@bidmc.harvard.edu
Misc. Computer Related Info
-
JavaScript - more stable and compatible with different OS
Tasks we’re going to have:
PVT
MST
Word Pairs
Concentration
Iowa Gambling Task
Mirror Tracing
Picture Rating Task
Transitive Inference
Visual Paired Associates
Weather Prediction
Remote Associates Puzzle
BreathPacer
Keyboard Wedge Timer
Multichoice
Prospective Randomizer
Sound Matching
Spatial Picture Task
Task Chunk App
Task Spy
Time Tracker
Typing Tester
Zeo Data Decoder/Zeo Viewer
Definitely for any future studies – likely not for tDCS or K23 study (at the moment)
-
Username: acunnin4@bidmc.harvard.edu
Password: F8C47brg2PzDP!L
-
Email Stephen Berry (sberry@bidmc.harvard.edu) for access to the MATLAB R drive ($75 annually), email Tony or Michael for PO numbe
731 Dana Computer Info for Remote Desktop
INFO NEEDED
First, install and make sure you have a successful connection with the hospitals VPN system (at the time of writing this it is GlobalProtect)
This is true of any remote connection you are attempting to do
To connect from a Mac or PC —> a PC, you will use Microsoft Remote Desktop
To connect from a Mac —> another Mac, you will use the Screen Sharing Application (more instructions below)
To connect from a PC —> a Mac, you need to use a different, third-party program. The following set up was established to work:
View the instructions here
These instructions utilize TightVNC for Windows which can be downloaded here
The Mac has been set up for sharing and the password will be maintained to be whatever the Mac Login password is (if this doesn’t work, contact Tony)
After downloading and installing TightVNC, set up everything according to the instructions and the set up documentation here.
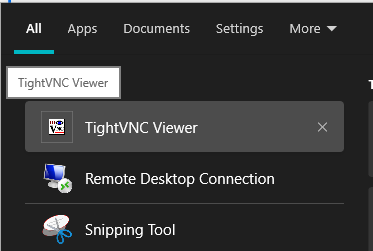
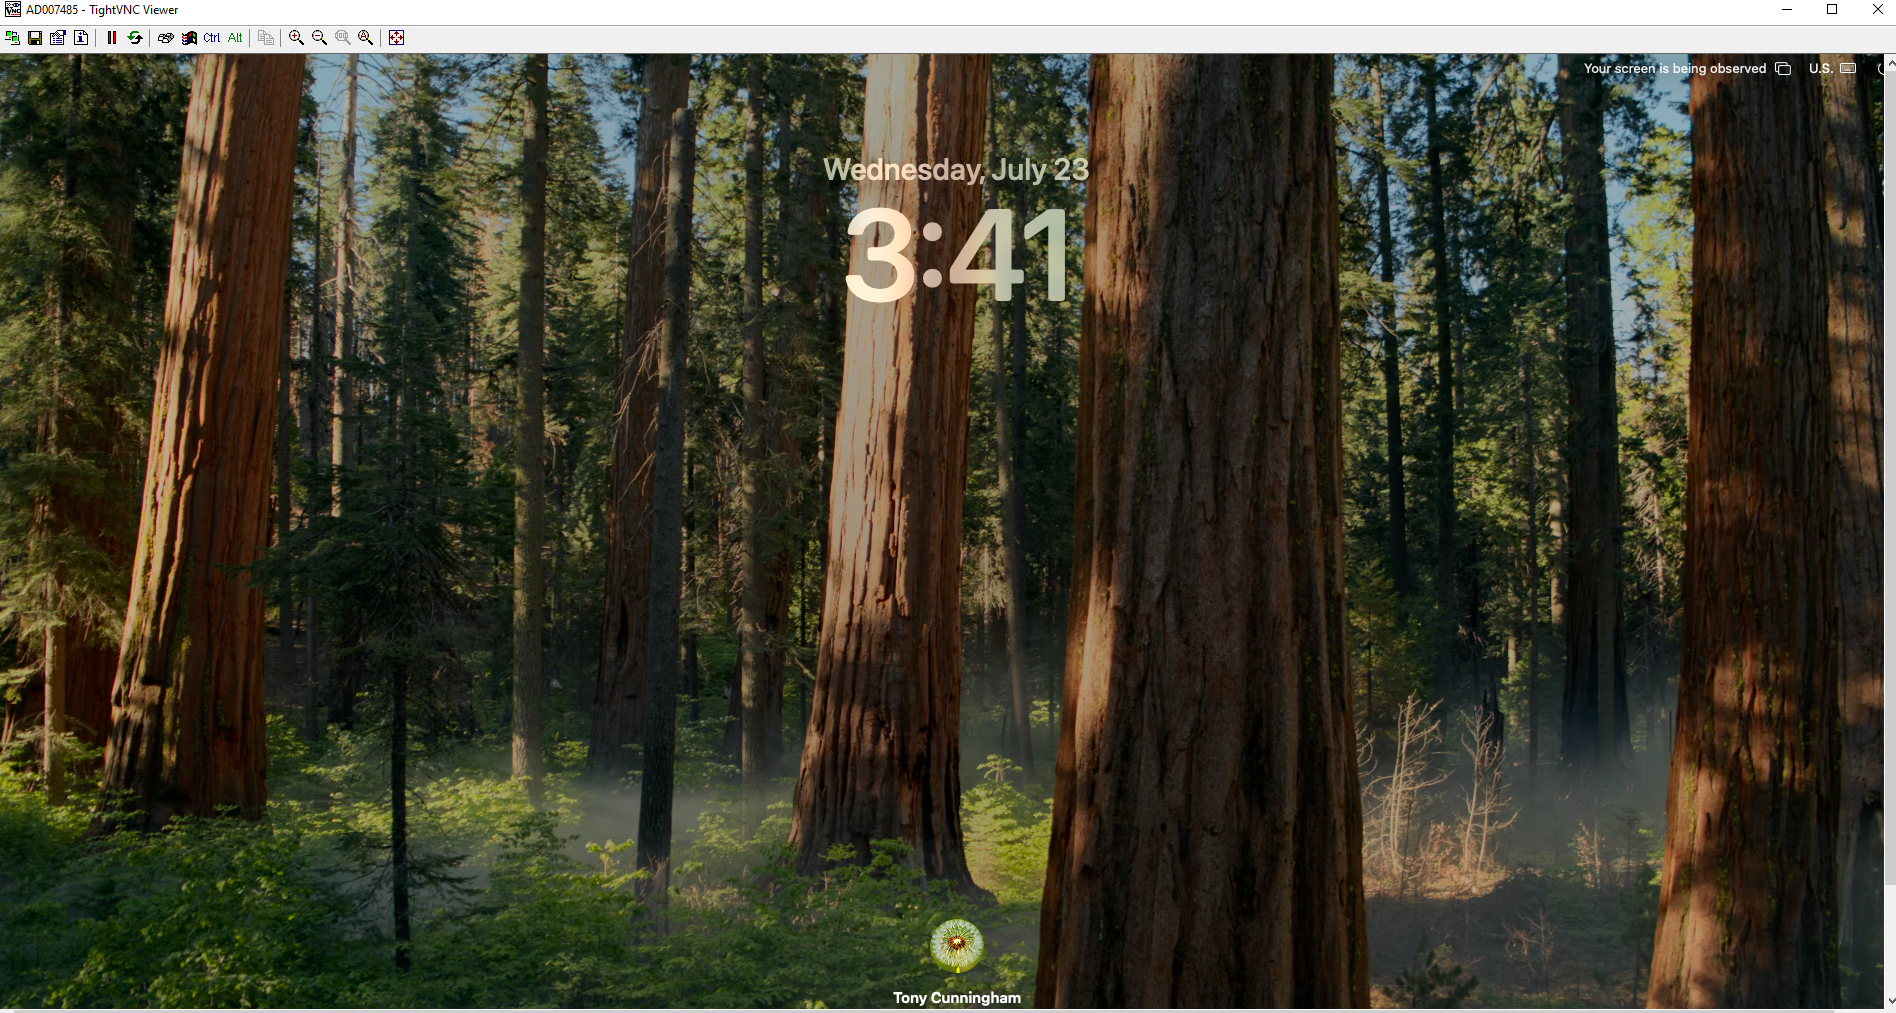
Once ready to run, open TightVNC Viewer
Connecting to MRI Mac from PC
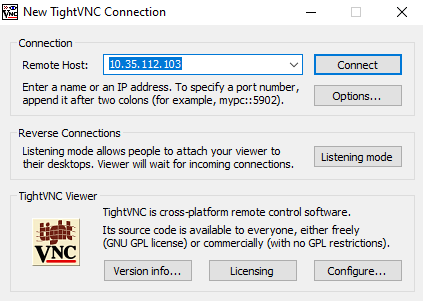
6. The box below should open. The current IP address is: 10.35.162.181
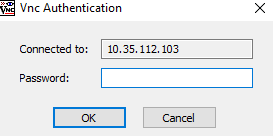
7. After you hit connect, it will ask for the password. This should be the same password that is used to log into the Mac.
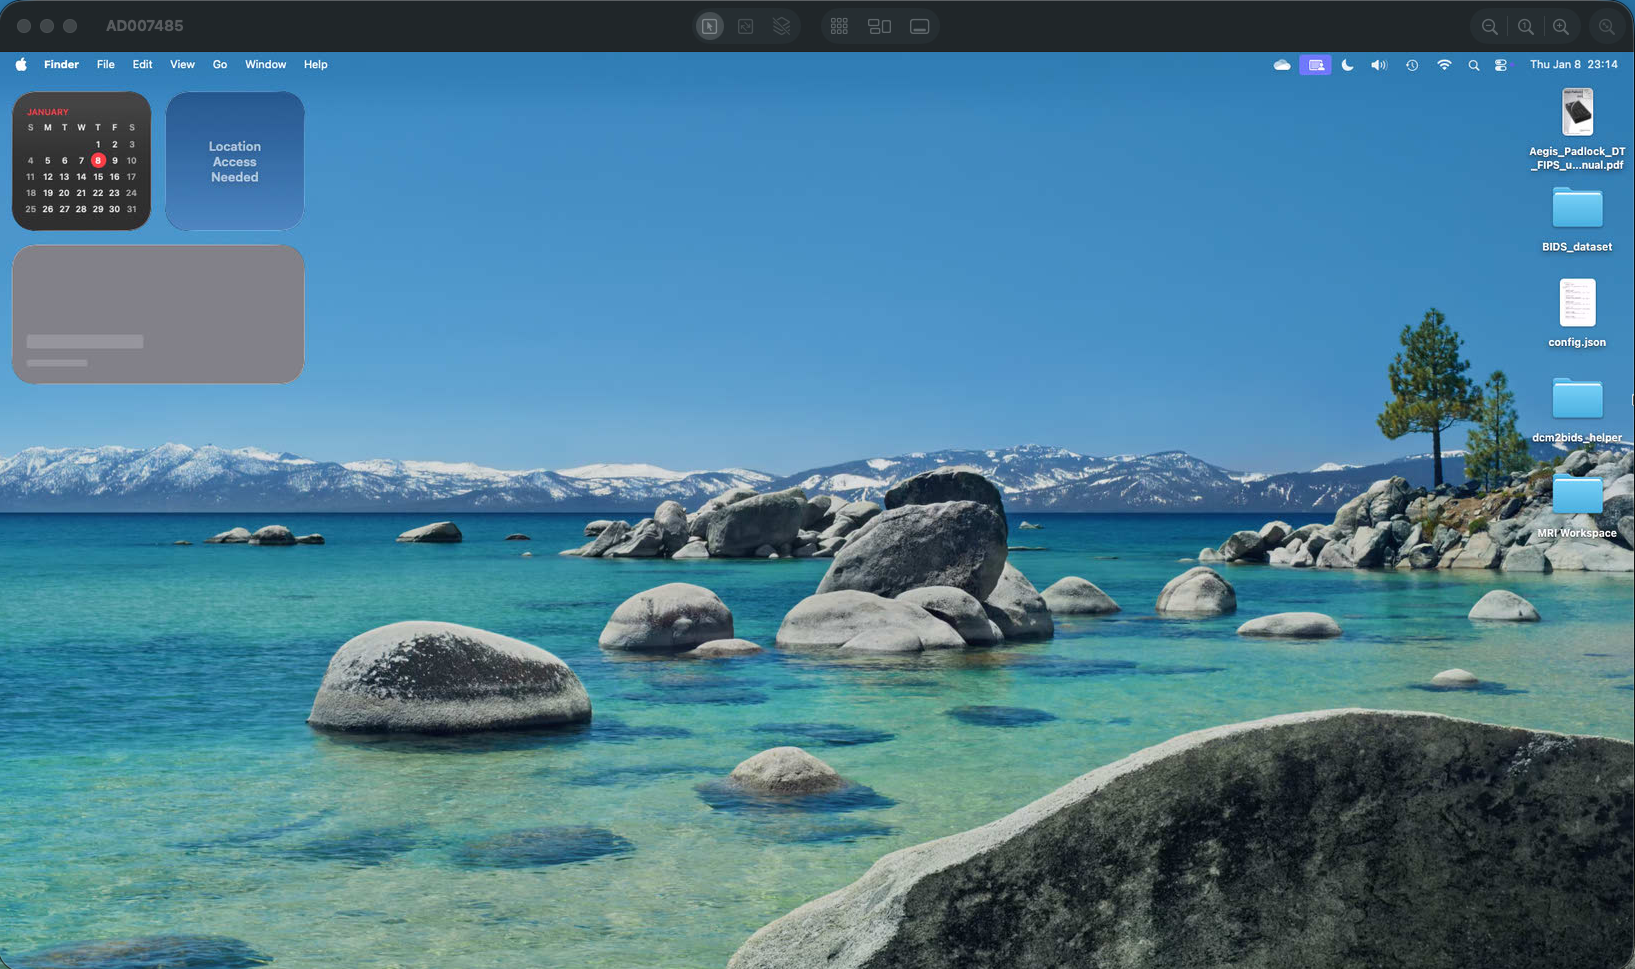
8. Once connected, you should see the Mac login screen. Re-enter the password under the Tony Cunningham account and you’re in!
Connecting to MRI Mac from Mac
Connect to GlobalProtect VPN to connect with BIDMC network
The settings on the MRI Mac should all be set to accommodate macOS Screen Sharing
On the Mac you are connecting from, go to Finder -> Go -> Connect to server
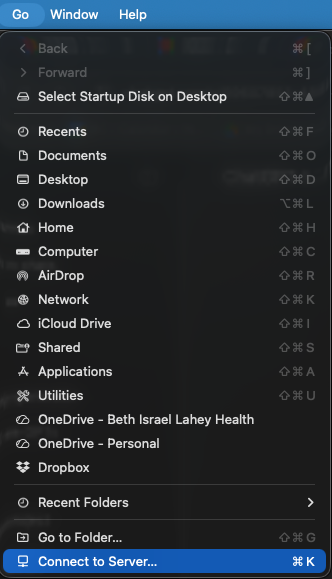
4. Enter vnc:// and the current IP address. Currently: vnc://10.35.162.181
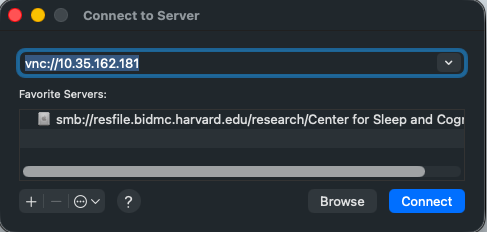
5. Once connected, it will ask for a user name and password. Username: Tony Cunningham and Password is the standard password to log into that Mac.
6. Once connected, you should see the Mac login screen. Re-enter the password under the Tony Cunningham account and you’re in!